
Windows Migration Tool for Windows 10: Simplifying Your Transition Process
Description: The Windows 10 migration tool is the easiest solution to avoid reinstalling Windows and programs by migrating Windows 10 to SSD or a new PC. Here’s a guide to assist you complete this activity.
Keywords: windows migration tool windows 10, windows 10 migration tool download, windows 10 transfer tool, windows migration tool, windows 10 os migration tool
What does Windows migration tool do?
The Windows Migration Tool is a built-in utility provided by Microsoft specifically designed to facilitate the migration of data, settings, and applications from an older version of Windows to Windows 10. This tool eliminates the need for manual file transfers, reinstallation of applications, and tedious configuration tasks. It offers a user-friendly interface and a step-by-step wizard that guides you through the migration process, making it accessible even for non-technical users.
Windows 10 doesn’t carry built-in OS migration tool
When discussing the Windows 10 windows partition manager, it is worth mentioning Windows Easy Transfer, which is a reliable option for transferring settings and local user profiles from an old PC to a new one. This tool was initially introduced in Windows Vista and later inherited by Windows XP/7/8/8.1.
Starting from Windows 8, you can simply sign in with the same Microsoft account on different devices to transfer many of your settings. However, in Windows 10, Windows Easy Transfer is no longer available and has been replaced by Laplink. It’s important to note that Laplink is only suitable for moving user profiles, files, and applications.
Therefore, if you require a comprehensive Windows 10 migration tool that covers both profile migration and OS migration, it is advisable to search for a more cost-effective option.
Preparations for a smooth OS migration process
- Ensure sufficient disk space
Before initiating the migration, ensure that your destination system has enough disk space to accommodate the transferred data and applications. This will prevent any interruptions or errors during the migration process.
- Check for compatibility issues
Verify the compatibility of your hardware and peripherals with Windows 10. Visit the manufacturers’ websites to download and install the latest drivers and software updates to avoid any compatibility issues after the migration.
- Update applications
Make sure to update all your applications to their latest versions before starting the migration process. This will ensure compatibility with Windows 10 and optimize their performance on the new operating system.
- Disconnect external devices
To prevent any conflicts or interruptions during the migration, disconnect any external devices such as printers, scanners, or USB drives. Once the migration is complete, reconnect them to your Windows 10 system.
Windows migration tool for Windows 10/11
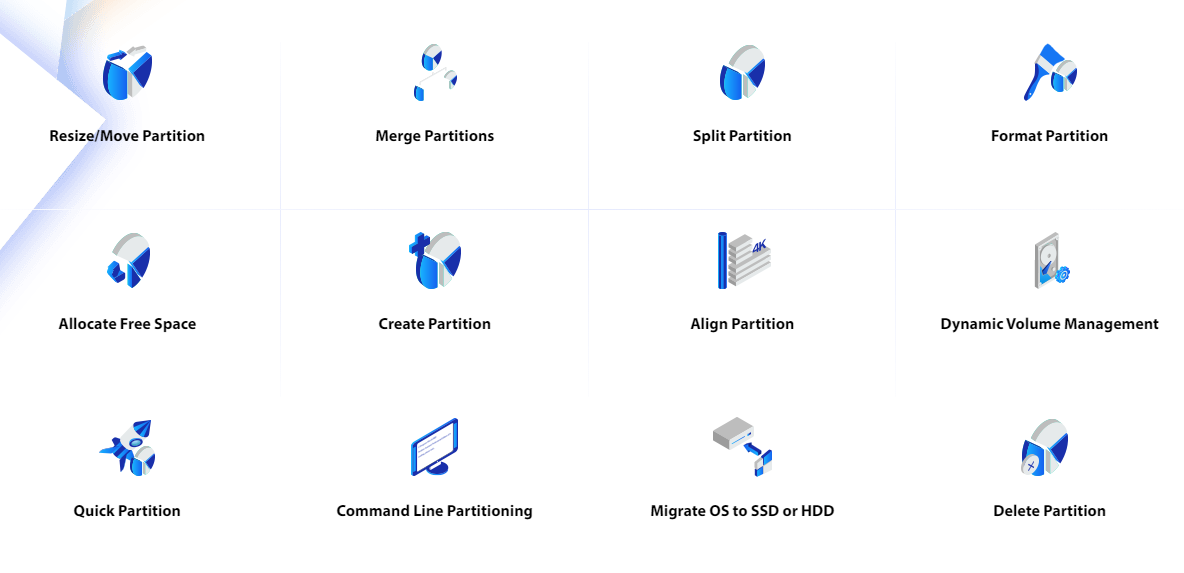
For effortless data migration, the recommended choice is AOMEI Partition Assistant Professional, regarded as the finest Windows 10 migration tool. This tool offers the remarkable “Migrate OS” function, allowing you to migrate Windows 10 to SSD seamlessly, eliminating the need for reinstallation.
With its user-friendly and straightforward interface, even individuals new to computers can complete the process with ease in just a few steps. AOMEI Partition Assistant Professional possesses numerous standout features that establish it as the ultimate tool for cloning tasks.
Step 1. Download best AOMEI Partition Assistant and launch the program.
Step 2. Select “Migrate OS” under the “Clone” column, in the next window choose “Next” to continue.

Step 3. A window pops up, select an unallocated space on the SSD disk (here is Disk 2) as the target, then hit “Next”.
Tip: Before hit “Next”, make sure the selected disk has an unallocated space, this is a prerequisite. If there is no unallocated space on SSD disk, you can resize the partition to generate one.
Step 4. Resize partition, specify the size and the location of the partition being created. Or just leave it alone, then hit “Next”. Plus, Partition Assistant will calculate the size of system files and make the destination disk space can hold these files.

Step 5. You will get a note how to boot from SSD or HDD, then press “Finish”.

Step 6: Preview these operations on “Pending Operations” and the changes on Disk 2. Then click “Apply” to migrate OS to SSD.

After you migrating OS to SSD disk, you have to disconnect source disk to boot computer from the SSD disk, or exchange the connection socket of source disk and the SSD disk, then boot from the SSD disk.
Ending lines
Migrating to Windows 10 can be a smooth and hassle-free experience with the help of the Windows migration tool. By following the step-by-step guide and considering the provided tips, you can effortlessly transfer your data, settings, and applications. AOMEI Partition Assistant is a practical tool on disk cloning and OS migration and many other PC issues troubleshooting.

